How to Manage WordPress Pages
Managing your pages is a straightforward process in WordPress. Out of the box, the platform comes with the tools you need to create, edit, organize, and remove any pages on your site. Let’s address these tasks one by one.
Adding and Editing Pages in WordPress
Your first step is learning how to create pages and then edit them. To get started, visit your admin dashboard. From the left menu, select Pages and then click on Add New.
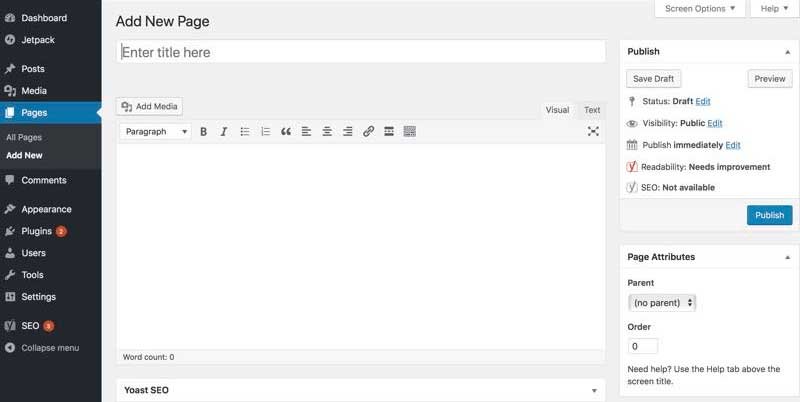
From here, you can begin editing your page. To do this, just add whatever content you’d like in the page editor. You can type text directly into the box and place images and other media using the Add Media button. In addition, you can even include code through the Text tab. Once you’ve made your changes, you can publish the page or save it as a draft to work on later.
Organizing Your WordPress Pages
When you add a new page to WordPress, it becomes a part of your navigation. Depending on your installation default setting, WordPress will either arrange your pages by date published or in alphabetical order. If you want to change this, you will need to use a hierarchy to organize them.
To get started, click on Pages within WordPress.

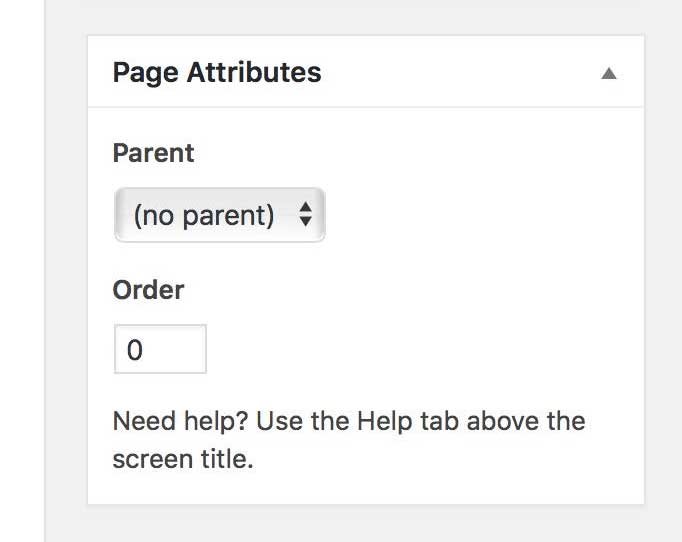
In this box, there is a drop-down menu under Parent. If you want to make this page a subpage or child of one of your other pages, you would do that here. Otherwise, you can simply use the Order box to determine what order your pages will appear in on your website menu. If you leave the number at 0, for example, the selected page will be the first one in the hierarchy. If all pages are set at 0, they will be organized alphabetically.
Once you click on Update, all your settings will be saved. You’ll want to do this for each page on your site. If you add new pages later, you can follow the same steps to organize them within your existing hierarchy.
Removing a WordPress Page
If you want to delete a page, the steps for doing so are straightforward. Go to the Pages screen of your dashboard again. Hover over the page you want to delete, and you’ll see the word Trash in red lettering.
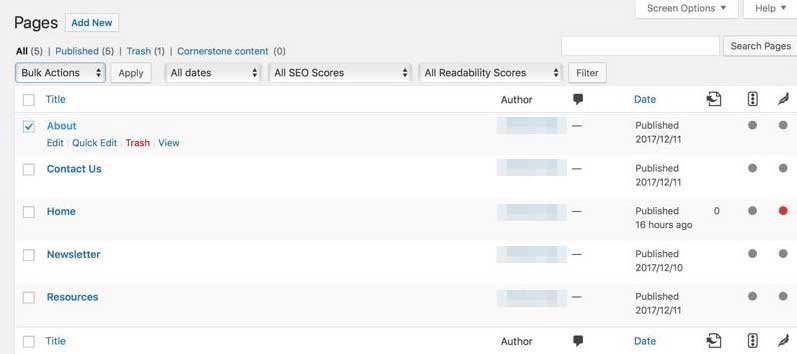
Click that link and the page will be moved to your trash bin. If you need to delete multiple pages, you can select the checkbox to the left of each one. Then go to the Bulk Actions menu just above the list of pages, and select Move to Trash.
Deleted pages can be restored by clicking the Trash link above the page listing. Hover over the page you want and click Restore. If you’d like to remove the page for good, click the red Delete Permanently link.
Conclusion
WordPress enables you to quickly add, edit, and organize pages on your website. These pages are primarily used for static content and can be organized hierarchically as part of your site’s overall architecture.