There are two methods of installing a theme onto your WordPress site. You can use the WordPress Admin panel to upload and install the theme, or you can use FTP software instead.
WordPress Theme Installation
To install the theme directly from the WordPress admin panel, please first log in to your wp-admin console
- Navigate to Appearance > Themes
- Click Add New
- Click Upload Theme
- Click Choose File
- Find the package you have downloaded from us. You can get the zip file from Purchase History Page of your user Panel i.e https://wedevstudios.com/my-account/
- Click Install Now and the installation will begin. You can monitor the installation process in the lower left corner of your browser
- Once the installation is complete you will see the following screen:
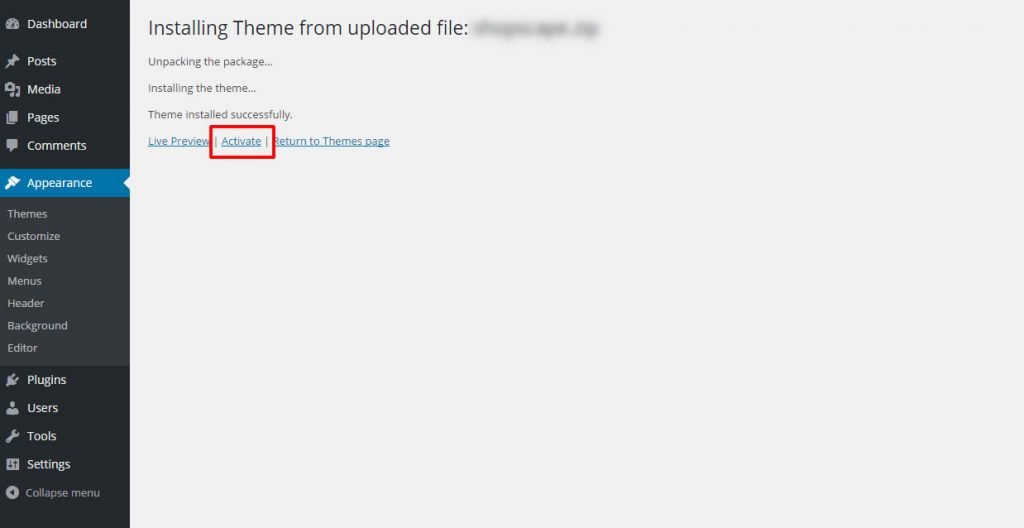
8. Click Activate
9. You should see the list of themes installed in your WordPress instance with our theme activated.
Congratulations! You’ve successfully installed and activated our WordPress Theme on your website. Proceed to install recommended plugins and either add your own content or import the demo content to get your site up and running in no time.
FTP Installation
To install the theme using FTP software, log in to the server where your WordPress website is hosted.
First, extract the theme file from the Installable WordPress file only package that you received in your installation pack. Now connect to your server via FTP and navigate to the /wp-content/themes/ directory under your WordPress website’s root location. Upload the theme file to the themes folder on your remote server.
Once the theme is uploaded, you need to activate it. Go to ‘Appearance > Themes’, find the theme you purchased, and click the ‘Activate’ button.